
Handling Changes to the Custom Report
Overview
The report design file must be kept in sync with the underlying custom report. If structural changes are made to the custom report, the report design file must be updated to reflect the modifications. Then the design file must be re-deployed to the Workday tenant.
Objectives
By the end of this chapter, you will be able to:
- Understand the impact structural changes to the custom report have on the report design.
- Make structural changes to the custom report.
- Update the report design to reflect the changes.
- Re-deploy the design to the Workday tenant.
Changes to Workday Report Definition
If you modify a custom report in the Workday Report Writer after you have created a report design, for example, if you have added new fields, renamed existing ones, or deleted fields, you need to update the report design file to handle the new report.
To update a report design, open the report design file in the Report Designer. In the Data Explorer view, right-click the data source, then select Edit.
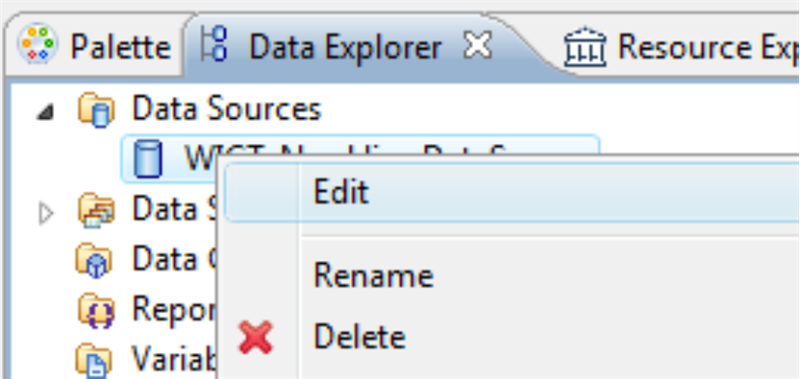
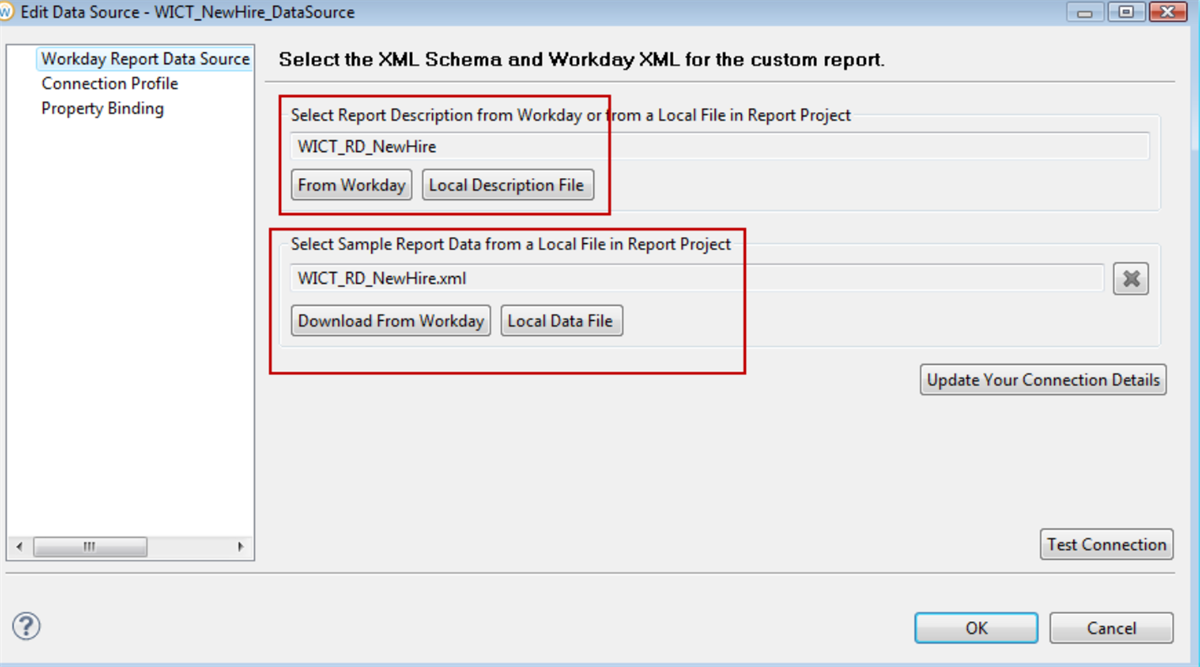
You will need to update both the Report Description and Sample Report Data.
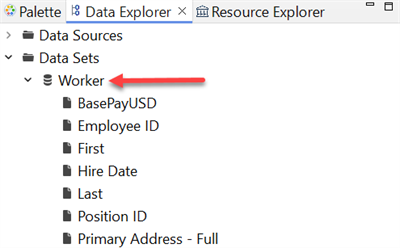
Double-click each of the data sets to open the Edit Data Set dialog box. Select OK to close it again. The Report Designer updates the data set to show the new set of fields.
To preview the report, navigate to Run > View Report > In Web Viewer. The Report Designer displays an error messages for fields that are no longer valid as a result of the changes to the report.
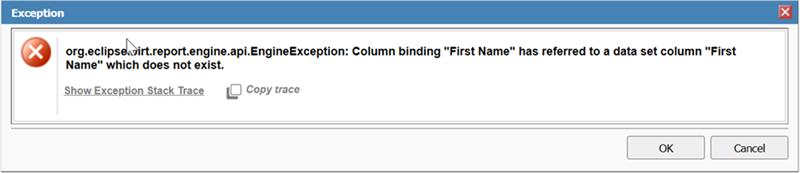
Update any fields listed in the error messages. For example, if a field has been renamed, double-click the field in the Report Designer's Layout view to open the Edit Data Binding dialog box.
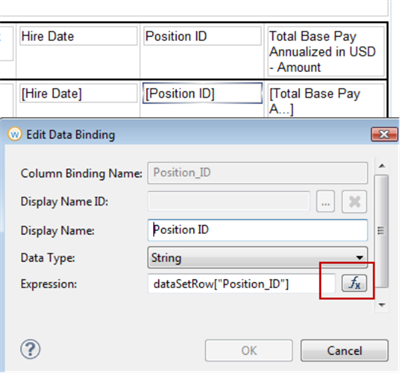
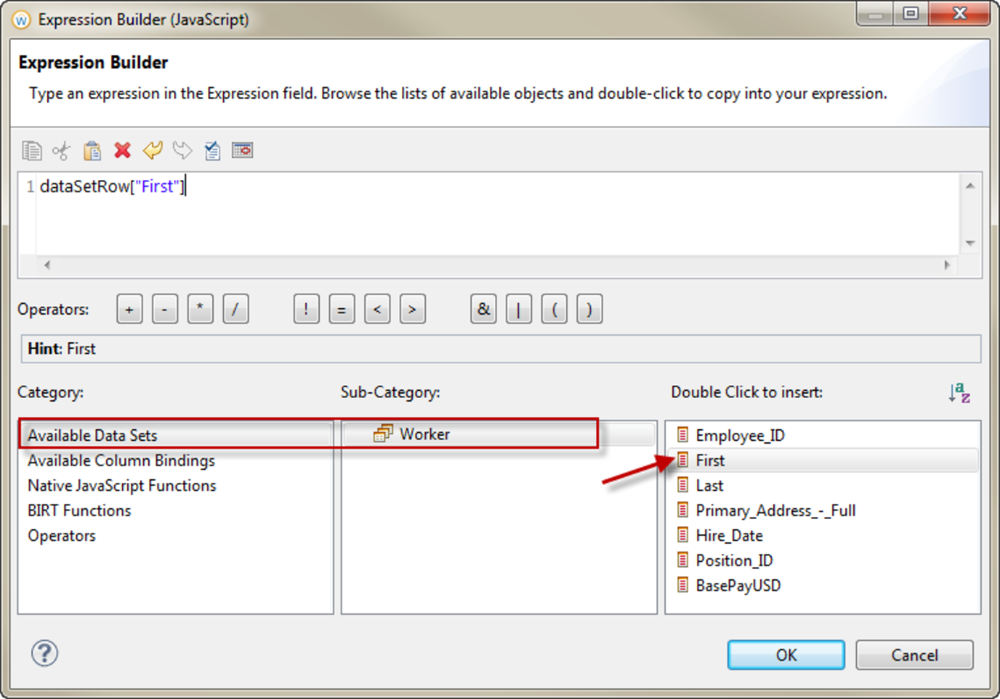
Select the JavaScript Syntax button, then use the Expression Builder to select the new field from the available data sets. Remove the existing expressing and replace by double-clicking on the field in the available data set.
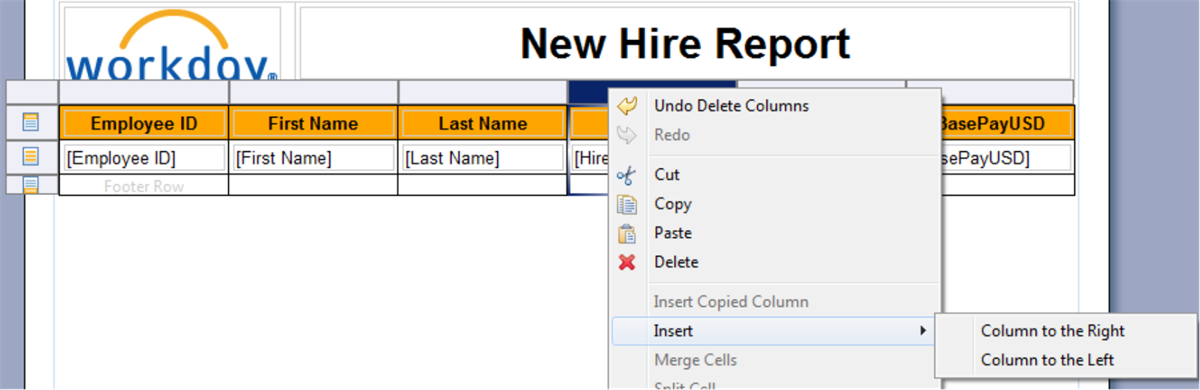
Inserting into Existing Table
To add an additional column into an existing table, select an existing column and then insert. You can insert a new column either to the left or to the right.
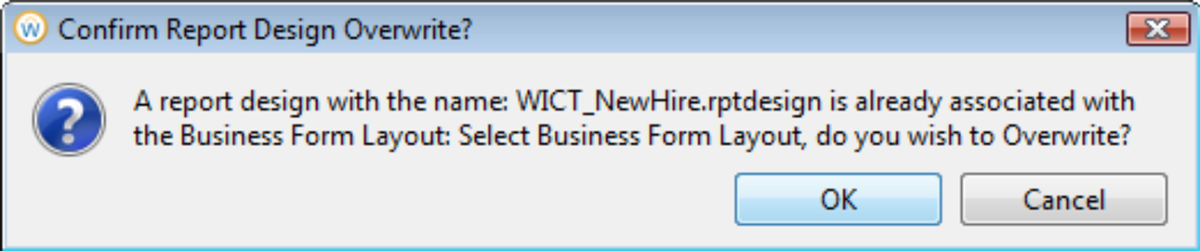
Once the changes are made to the report design, you will need to deploy those changes to Workday. Since the Business Form Layout is already deployed, select the existing layout. You will be prompted to overwrite the existing layout. If you wish to create a new or additional layout, choose the Create Business Form Layout option.
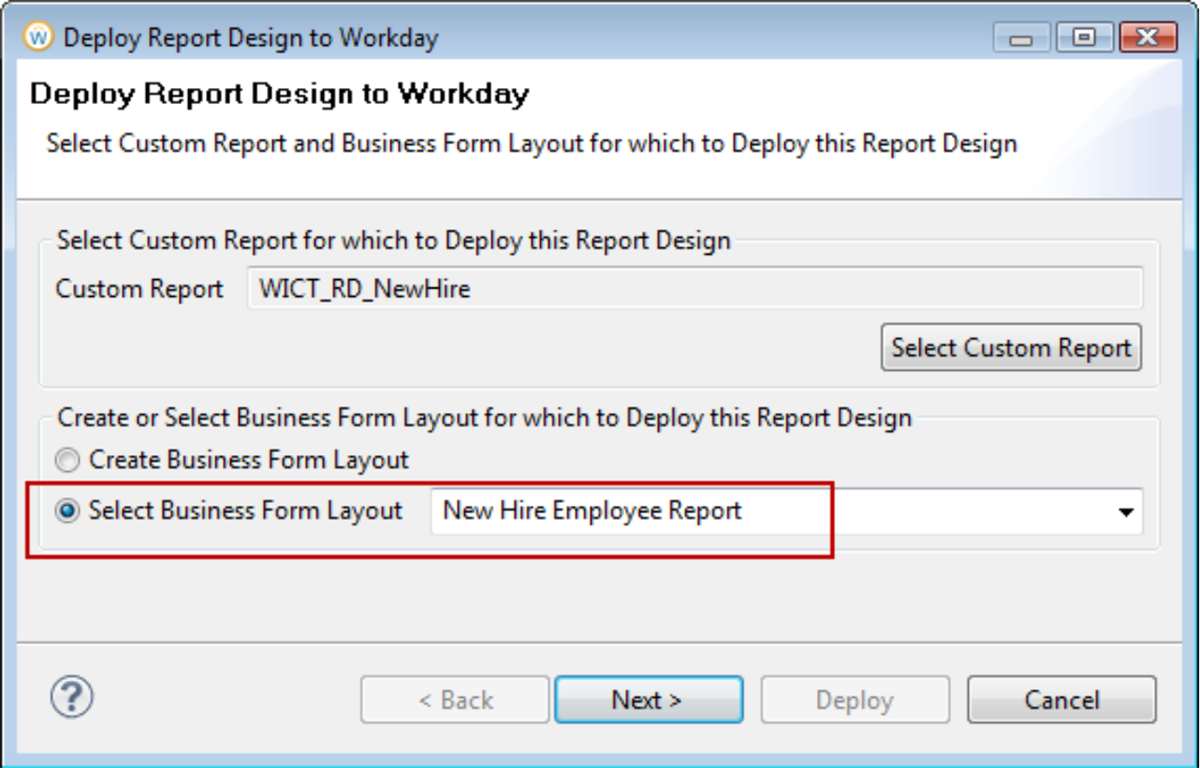
Note
: If you do not see this confirmation dialog box, view the Error Log view to determine why deployment was not successful.