Working with Local Files
Overview
Since the report designer is a third-party tool, one can use local xsd and xml files. Report designer files can also be downloaded from business form layouts. The report designer file can then be imported into the studio for updates.
Objectives
By the end of this chapter, you will be able to:
- Understand how to manually manage business form layouts.
- Download a report design file from a business form layout.
- Use the visibility property to hide report items.
- Create a business form layout, attach the report design, and associate the layout with the custom report.
Managing Business Form Layouts in the Tenant
Finding Custom Business Form Layouts
To view existing business form layouts, you may run the
View Business Forms Layout
report.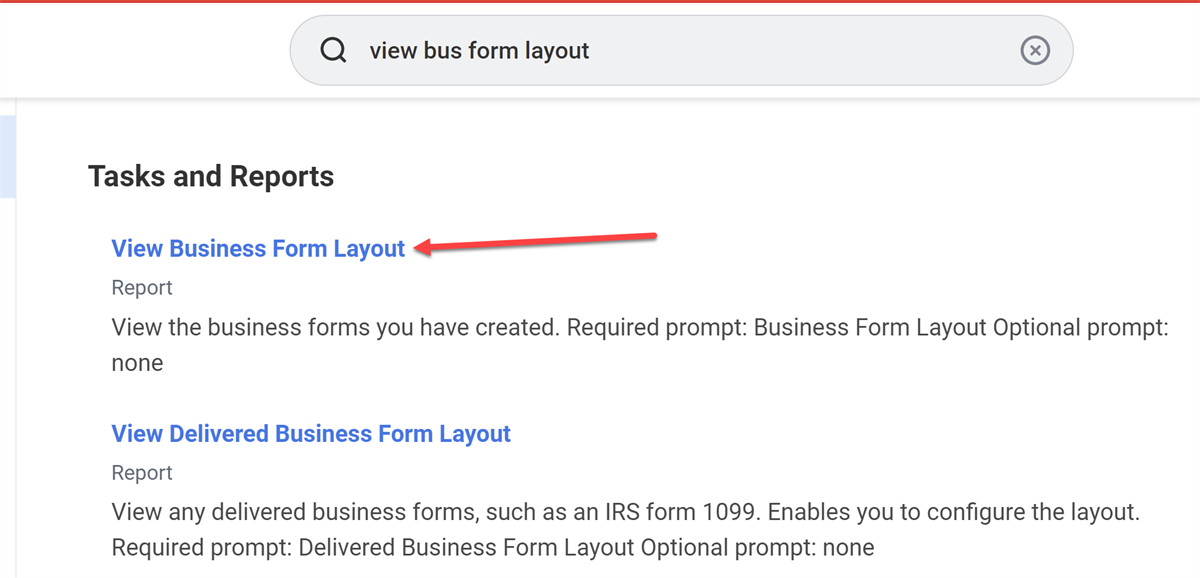
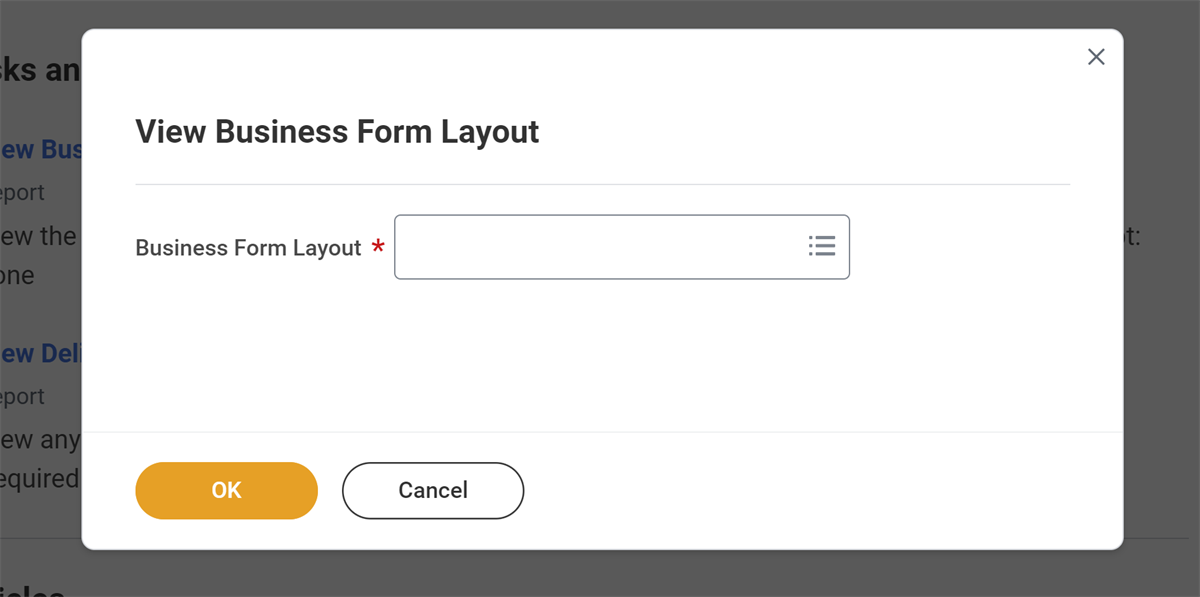
Search for the description you used when you deployed the report design to Workday.
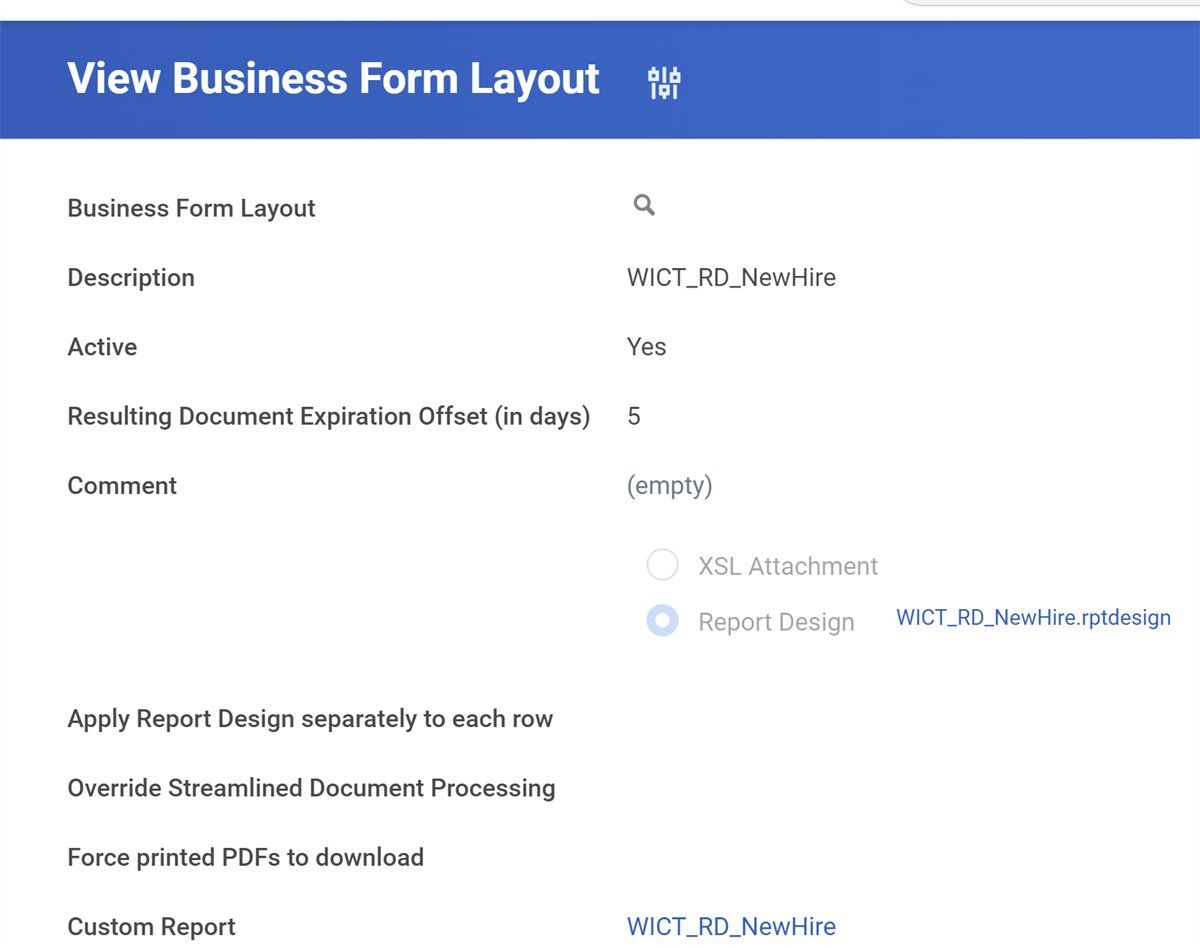
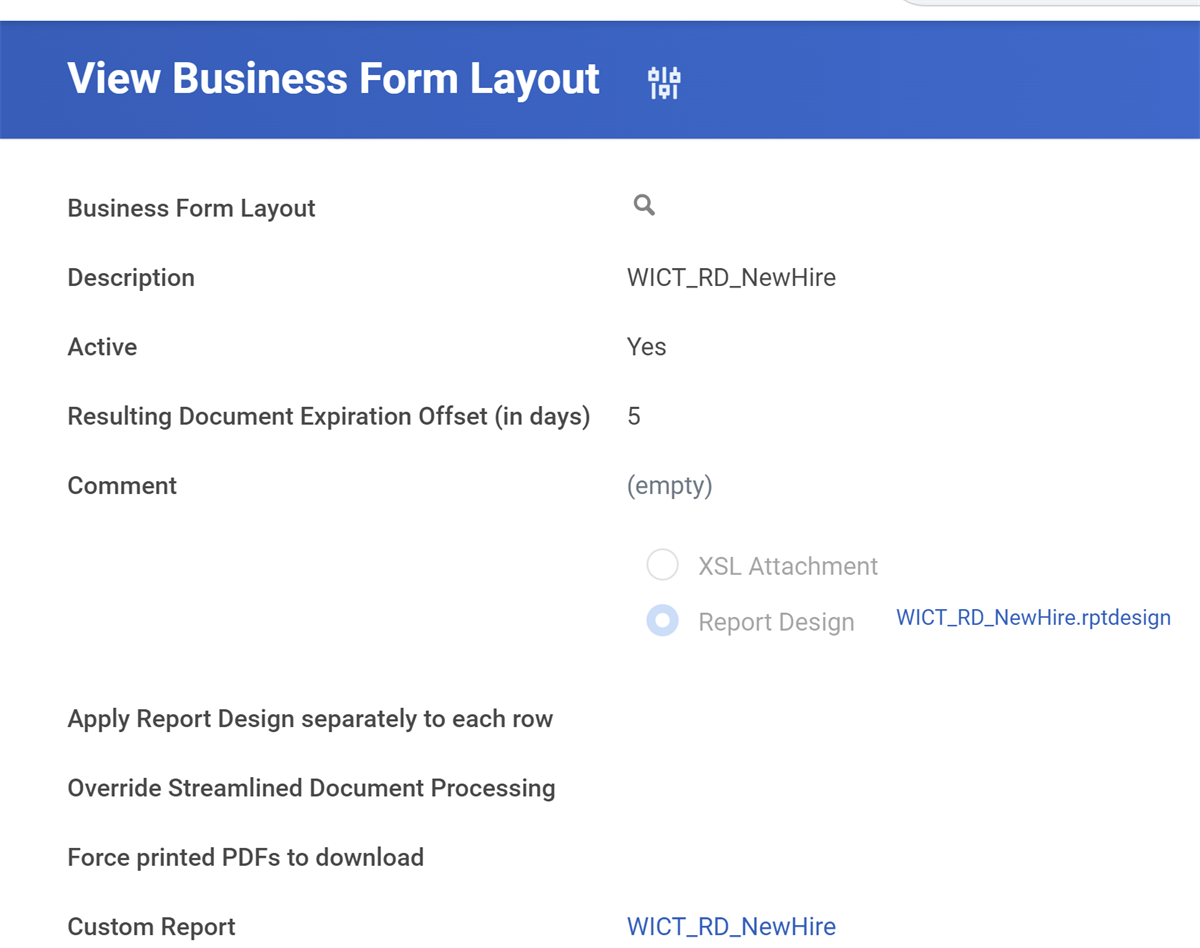
Once the business layout is selected, you can view the details, which include the information entered when deployed and the associated custom report. Additionally, you can select the .rptdesign link to download the file. This downloaded .rptdesign can be imported into Workday Studio and modified.
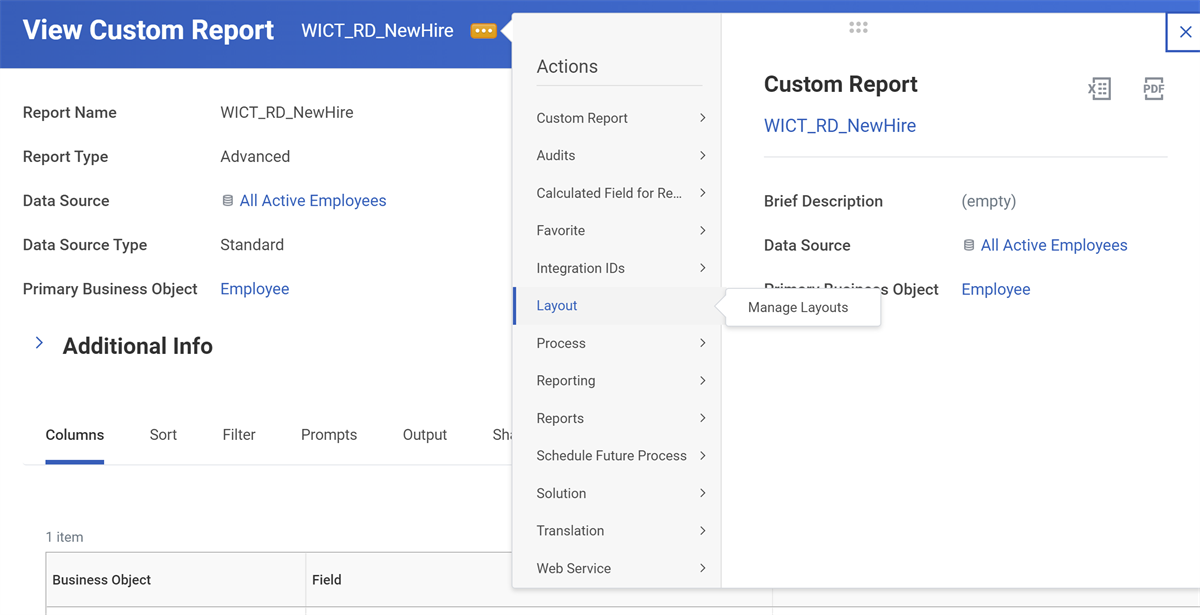
You may also view the custom report definition and use the related action menu to navigate: Manage Layouts > Layouts.

Creating Business Form Layout in the Tenant
You can manually upload the .rptdesign file into the tenant. You do not have to deploy it from Studio; however, it is still created in Workday Studio.
You can execute the
Create Business Form Layout
task from the search menu. You may also access the task by bringing up the report definition in the tenant. As a related action on the report to which you want to add a business form layout, navigate to Layouts > Manage Layouts. From the Manage Layouts grid, select + (the Add Row icon) to add a new row for a new business form layout. Select the prompt button on the right side of the new row. Finally, from the prompt, select Create > Create Business Form Layout and select OK to attach a new business form layout.Either method opens the
Create Business Forms Layout
task.If you upload image files (rather than using an embedded image), each image must be given a Token Name in the business form layout. Please see Workday documentation for more information on configuring Tokens.
Optionally, specify your translation preferences for the business form. You have the option to upload translation properties files that provide translations of static text in your business form layouts. This enables you to output business forms in multiple languages from a single report design. Please see Workday documentation for more information on configuring Translations.
Export Business Form Layout
Once a report design has been attached to a custom report in the tenant, you may easily access the file and download it locally to your computer. This may be helpful if you are responsible for updating a report design file that you do not have a copy of locally. Once you download the file, you can import it into Workday Studio. Once a report design file is imported, the data source must be edited to point to the correct report description and data.
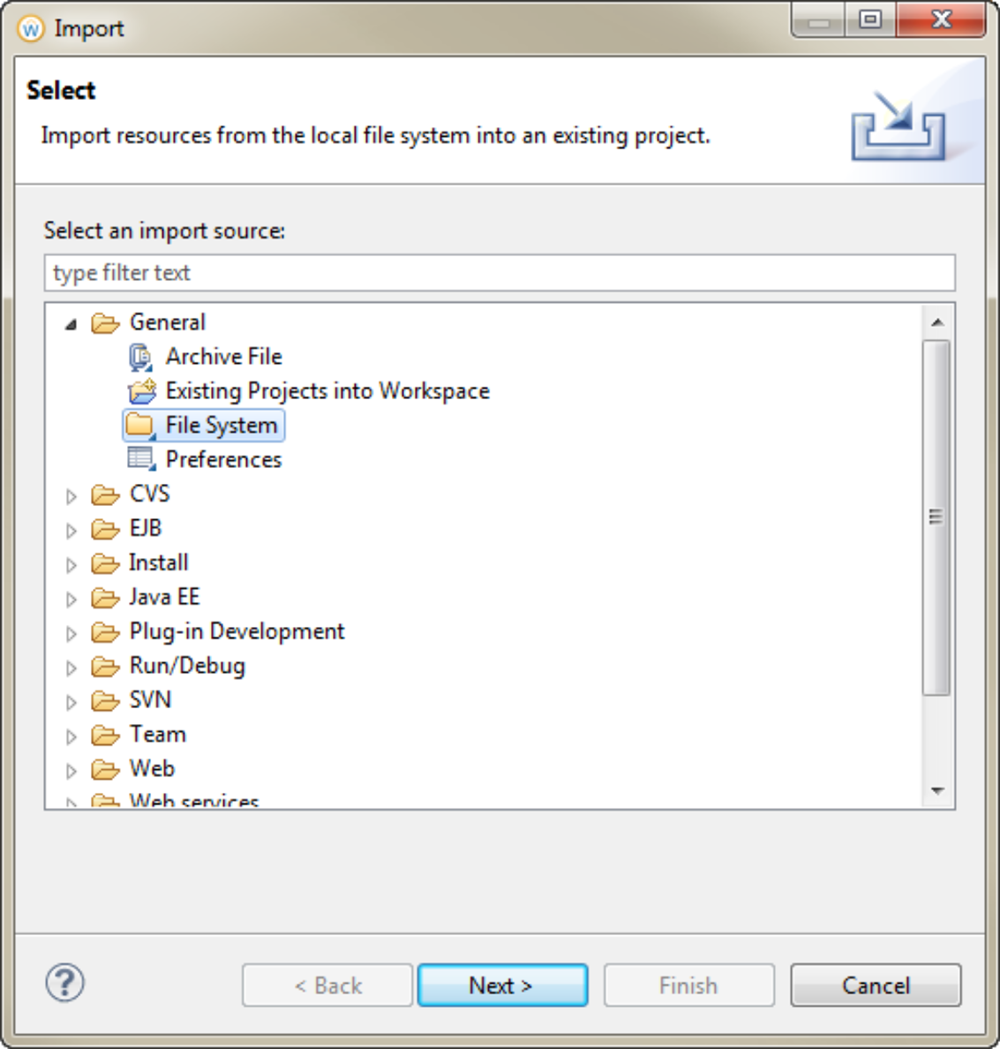
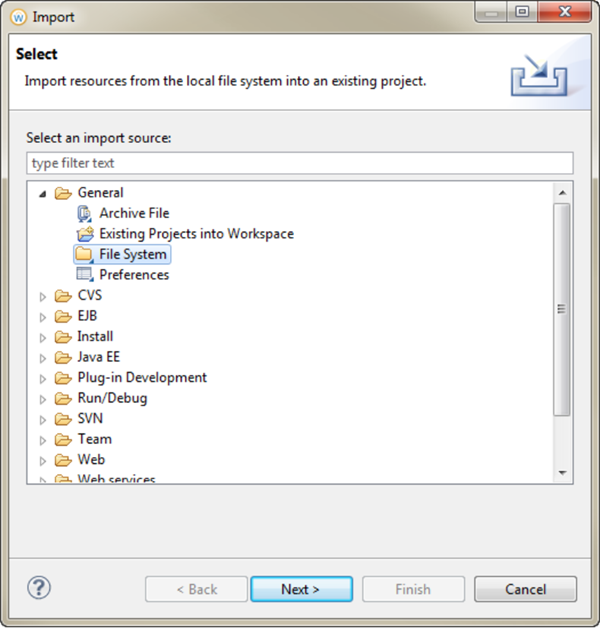
Right-click on your Report Project in the Project Explorer window and select Import. Expand the General folder and select File System.
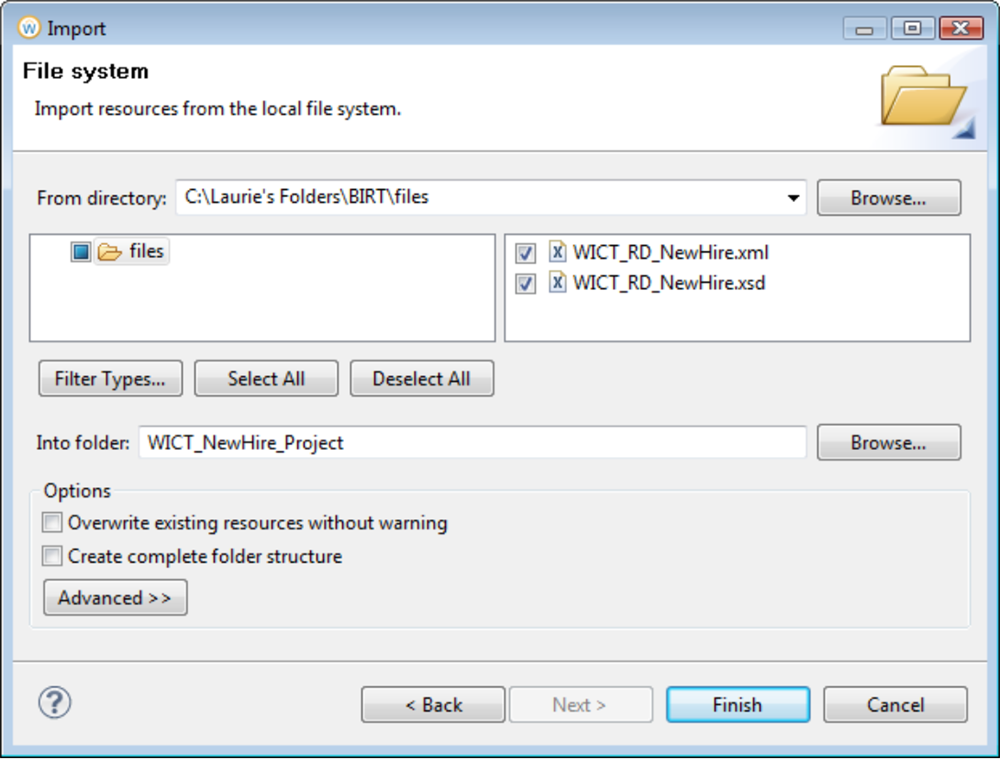
After you select Next, browse to the folder where you saved the .rptdesign file. Once you select the folder, all the files on that folder are displayed.
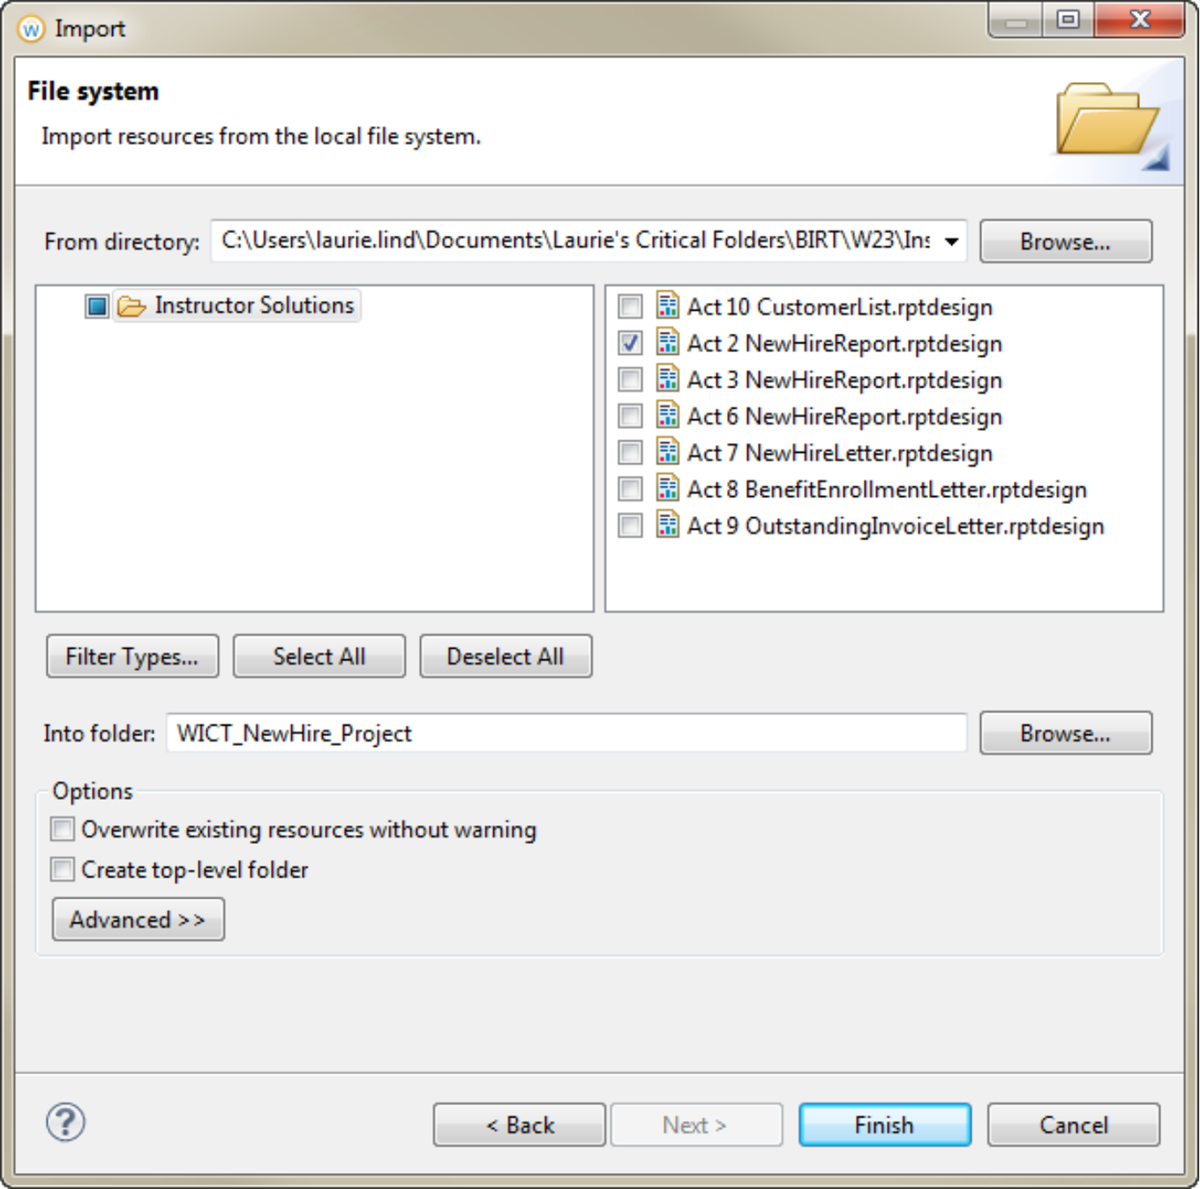
Select the files you wish to import by checking the box in front of that file. When you are done selecting files, select Finish.
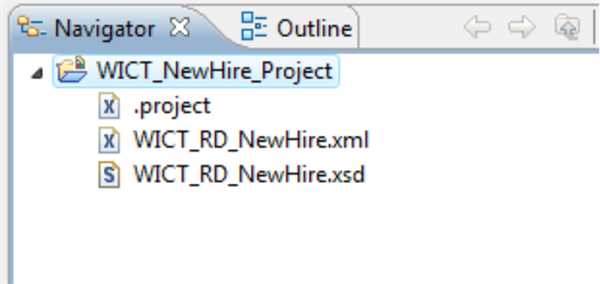
The selected files will be displayed under the Report Project in the Project Explorerxplorer window.
Using Local XML and XSD Files in a Data Source
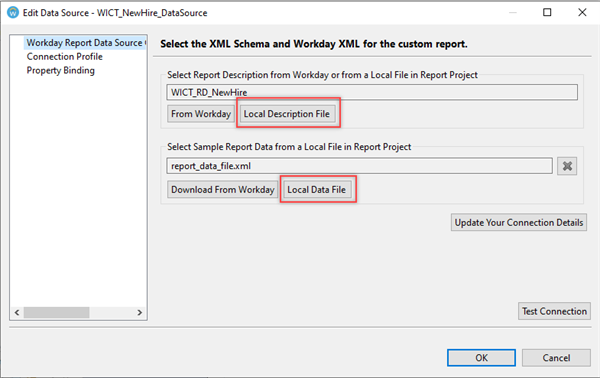
The New Workday Data Source Profile wizard in the Report Designer allows you to easily browse your Workday tenant to retrieve the description (xsd file) and sample data (xml file) when you create the Data Source.
However, you can also manually import the files into the Report Project and use the local files to define the Data Source.
Right-click on your Report Project in the Project Explorer window and select Import. Expand the General folder and select File System.
After you select Next, browse to the folder where you saved the xml and xsd files. Once you select the folder, all the filed on that folder are displayed.
The selected files will be displayed under the Report Project in the Project Explorer window.
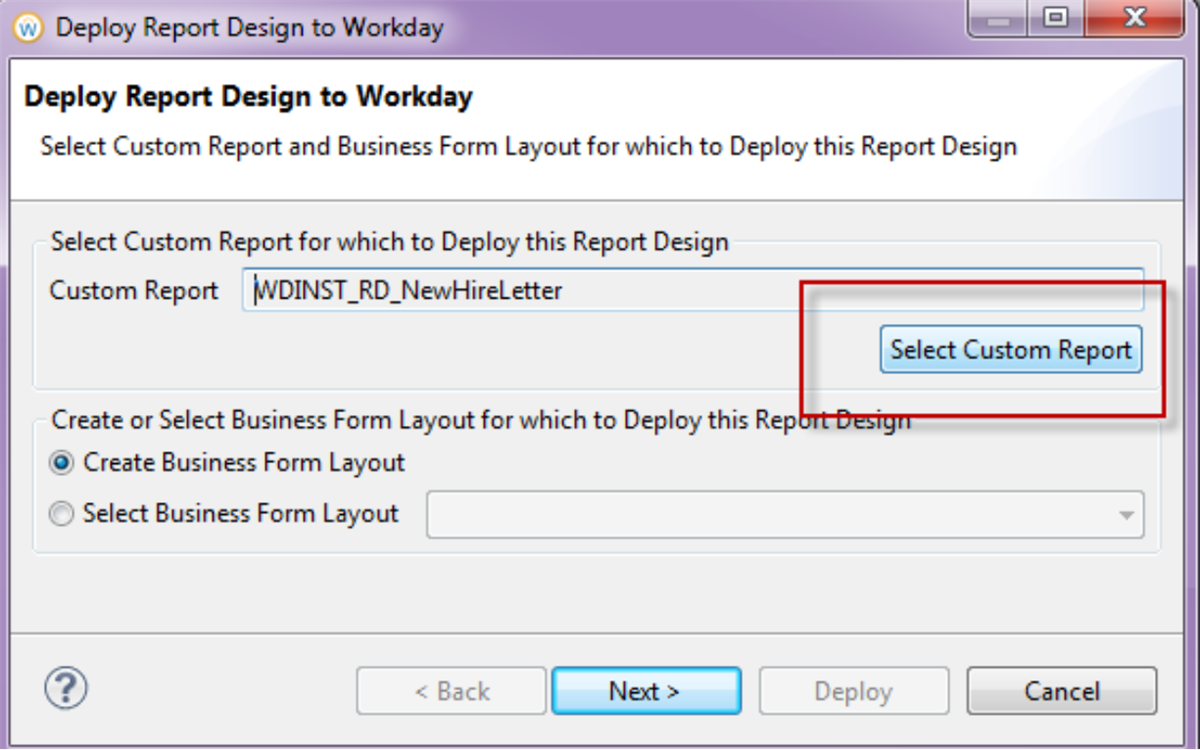
If you choose to use a local report description and deploy that report design from Studio, you will need to select the report in the Deploy to Workday dialog box.