
Getting Started with Workday Studio
Overview
Part of the Workday Integration Cloud Platform, Workday Studio is a powerful development tool enabling customers and partners to build sophisticated integrations that solve many common use cases.
Workday Studio is geared toward skilled developers and is offered as a set of plugins to the Eclipse™ integrated development environment (IDE). Workday Studio allows you to drag and drop a variety of reusable components that handle the "plumbing" aspects of integration building. This frees you to focus on the critical business logic aspects of an integration problem. Workday has been using this valuable tool for years to deliver most of our packaged integrations and connectors.
Learning Objectives
By the end of this chapter, you will be able to:
- Prepare your workspace and perspectives.
- Connect to a Workday tenant.
- Identify additional tools and resources.
What Is Workday Studio?
Workday Studio is an Eclipse™-based integrated development environment (IDE) that enables you to:
- Build custom integrations.
- Exchange bulk data with external endpoints.
- Upload integrations to Workday.
Workday Studio is an external software application that you install separately from the rest of Workday.
It allows Workday customers and third parties to develop, deploy, debug, and support their own complex integrations running in the Workday cloud.
As a graphical development environment, Workday Studio provides drag-and-drop support for components that provide common programming features:
- Flow control (route, mediation, exception handling)
- Data manipulation (splitter, aggregator, transformation, scripting, logging)
- Code reuse (services, sub-assemblies, common components)
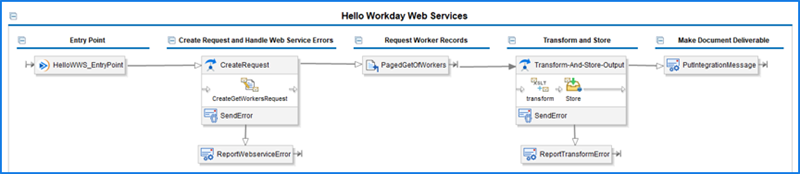
You can reference samples, tutorials, user guides, and reference guides in Workday Studio: Help > Help Contents.
Launch Workday Studio and Select Workspace
A workspace is a directory on your hard drive where Workday Studio stores your defined projects. Your workspace directory should not be inside your Workday Studio install directory since its contents can be overwritten during an update. Additionally, due to the volume of disk activity, usage of a workspace directory on a network drive is also highly discouraged. Finally, the directory path to your workspace should not include spaces, as they are treated as delimiters by the Workday Studio debugger, preventing its use.
Connection details are associated with your current workspace. If you switch or create a new workspace, your current Workday Studio connection will close down, and Workday Studio will stop and restart automatically. You will also need to configure your connection details for the new workspace location.
In order to simplify the management of connections, shared libraries, and deletion of potentially sensitive sample data the general recommendation is to create one workspace per customer domain, containing all projects and connections related to that customer.
As a Workday customer, this means one workspace for all of your projects containing connections for all of your tenant environments. You may want to create another workspace to organize any Report Designer (BIRT) projects.
As a Workday consultant, this means one workspace per customer for all projects and connections related to that customer. Mixing projects and/or connections from multiple customers in the same workspace introduces the possibility of deploying one customer's integration to another customer's tenant.
To switch to a different workspace or to create a new workspace, navigate to File > Switch Workspace > Other. The Workspace Launcher dialog will open and allow you to browse for or manually enter a new workspace location.
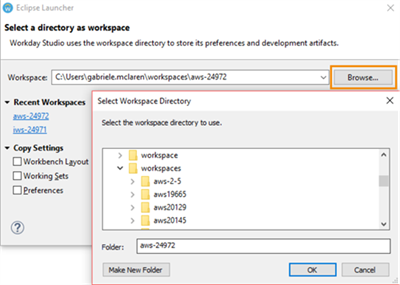
Workspace selection
Whenever you switch workspaces, you will be asked for the login credentials for the default connection associated with that workspace.
Update Workday Studio Installation
Your Workday Studio deployment must be up-to-date in order to interact with the Workday runtime. Workday Studio automatically detects that an update or patch has been released whenever you launch Workday Studio or when you attempt to interact with a Workday tenant. Workday Studio will automatically prompt you when an update is required when you attempt to connect to a Workday environment. Also, updating is just a matter of selecting a menu option ("one-click update").
The update-status icon in the status bar indicates whether your version is up-to-date. When your software version is up-to-date, the arrow icon is displayed in green. If your version is out of date, the arrow icon changes to red.
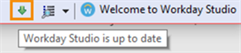
Workday Studio update indicator
To update your software, from the Workday menu, select Update Workday Studio.
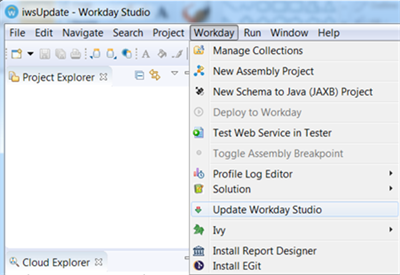
Workday Studio update menu
It is possible to continue working with your current Workday Studio version with local files without updating or patching. However, you will need to update or patch Workday Studio to connect to a tenant for deployment.
What is a Perspective?
Each workspace contains one or more perspectives. A perspective defines an initial set and layout of views meant to address a certain aspect of development with specific types of resources (e.g., debugging or XML editing). Perspectives also control what appears in certain menus and toolbars.
Workday delivers a perspective that defaults when you open Workday Studio in a new workspace. The Workday perspective provides quick access to relevant functions for integration development. You must use the Workday default perspective to deploy your projects to a tenant.
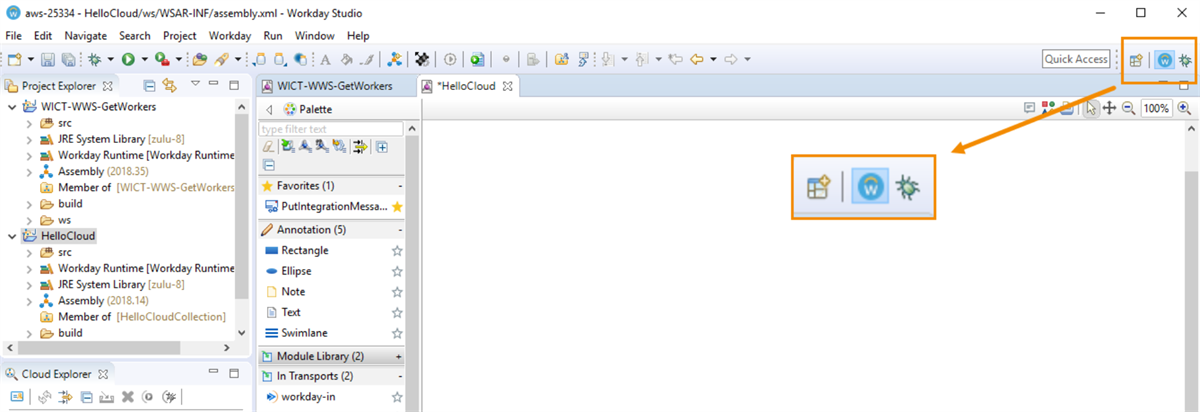
Perspective toggles
You can personalize a perspective with views that suit your needs. You can save a perspective that you build in this manner, making your own custom perspective that you can open in other workspaces. To reset to the default setting, navigate to Window > Perspective > Reset Perspective:
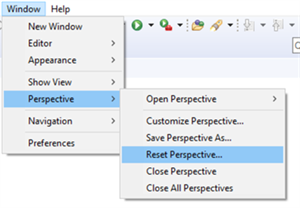
Perspective reset
What Are Views?
Views support editors and provide alternative presentations as well as ways to navigate the information in your workspace. For example, the Project Explorer and other navigation views display projects and other resources that you are working with. Perspectives offer predefined combinations of views and editors.
To open a view that is not included in the current perspective, from the main menu, select Window > Show View.
Project Explorer
The Project Explorer is the default project navigator. It displays the assembly at the top level of the project structure. It provides functions to open, validate, and test project files, as well as to deploy Workday integrations.
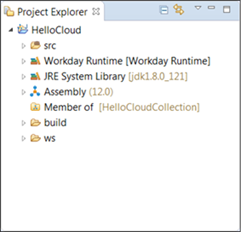
Project explorer
When you are working with the project in the Project Explorer, you are working on your local computer. The projects in the Project Explorer are pointers to files stored on your hard drive. If you delete a project from the Project Explorer, the files will remain on your local drive unless you select the checkbox to delete the contents on the disk.
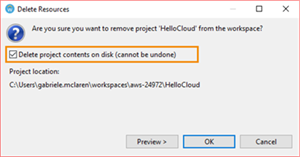
Delete resources prompt
Cloud Explorer
The Cloud Explorer is a "view" into your Workday tenants. When connected to a tenant, you can review, launch, and import the source of its deployed integrations. Everything is secured so if you do not have access to an integration system, you will not be able to launch it.
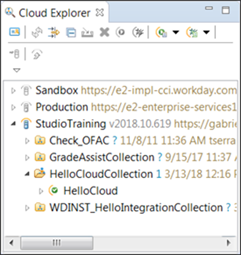
Cloud explorer
Configure and Test Connections
Before you can deploy or launch a sample, you must connect to a Workday environment. The Cloud Explorer in Workday Studio provides an interface to the available Workday environments.
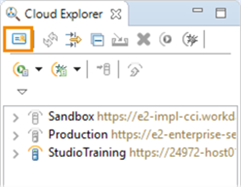
Available environments in Cloud Explorer
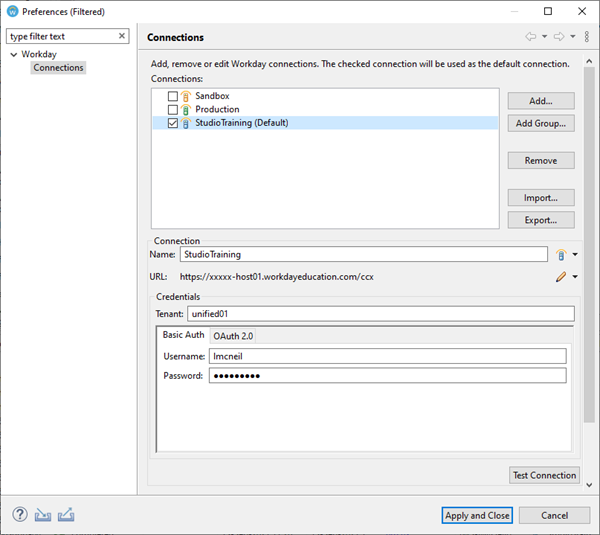
Connection preferences
You can configure the existing sandbox and production connection or add a new connection with a name of your choice.
You can choose the connection details based on the location of your data center for your sandbox, implementation, or production tenant. If your URL is not listed, select the pencil icon to manually enter your Host name value.
You can find your data center and host (excludes training SUVs) on Workday Community by searching for the term
Workday Data Center
.Since Workday Studio is installed locally on your computer and must connect to a Workday tenant, network settings can prevent you from performing all functions. You may need to contact your IT department to assist in configuring proxy or firewall settings.
Resource
: For assistance with resolving connection issues, please refer to Workday Studio Help Contents or the Knowledge Base by searching on Workday Community.Workday Studio on Workday Community
In addition to download and installation instructions, Workday Community includes many resources to help you maintain Workday Studio and design integrations.
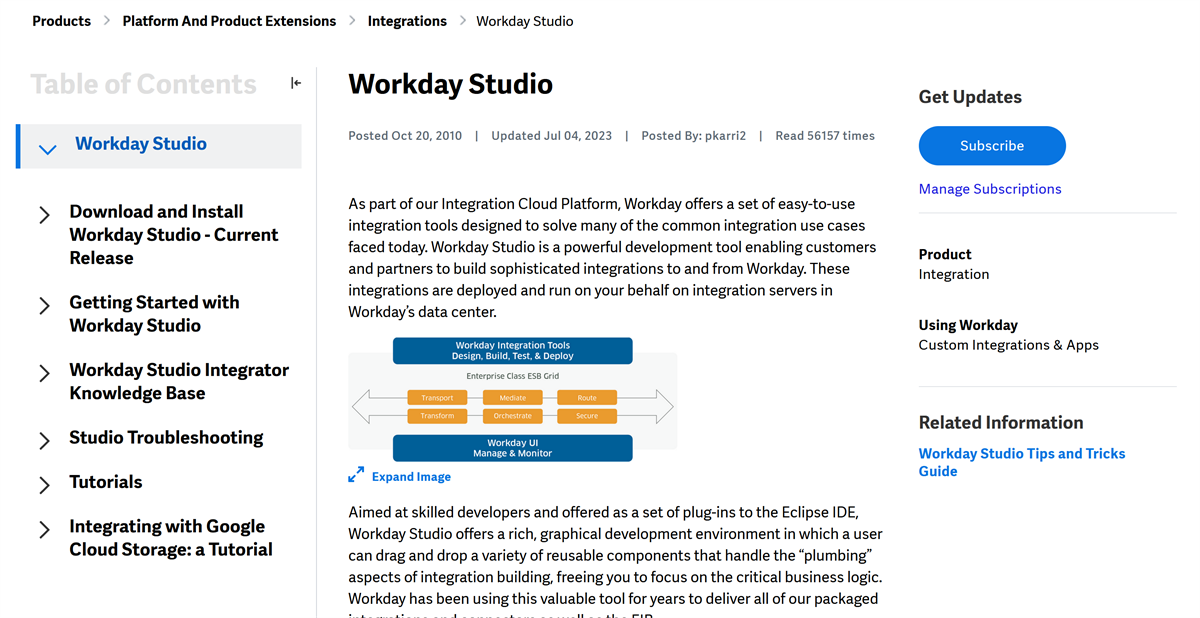
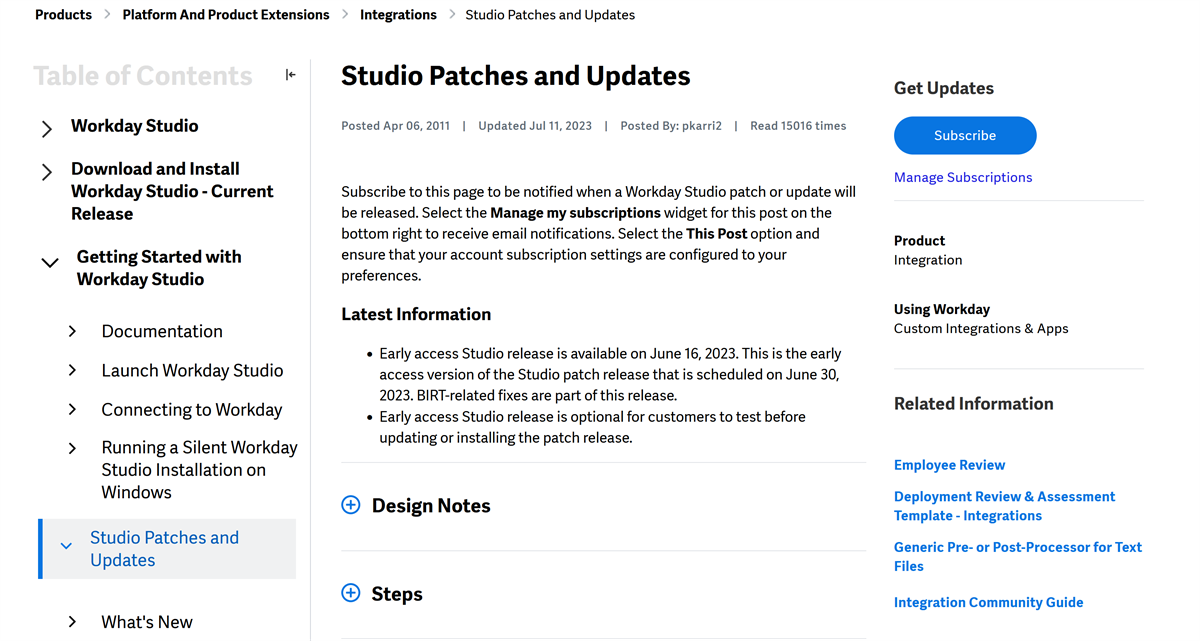
We strongly recommend that you subscribe to the Studio Patches and Updates page to be notified whenever a new version is released.
Workday Studio Samples
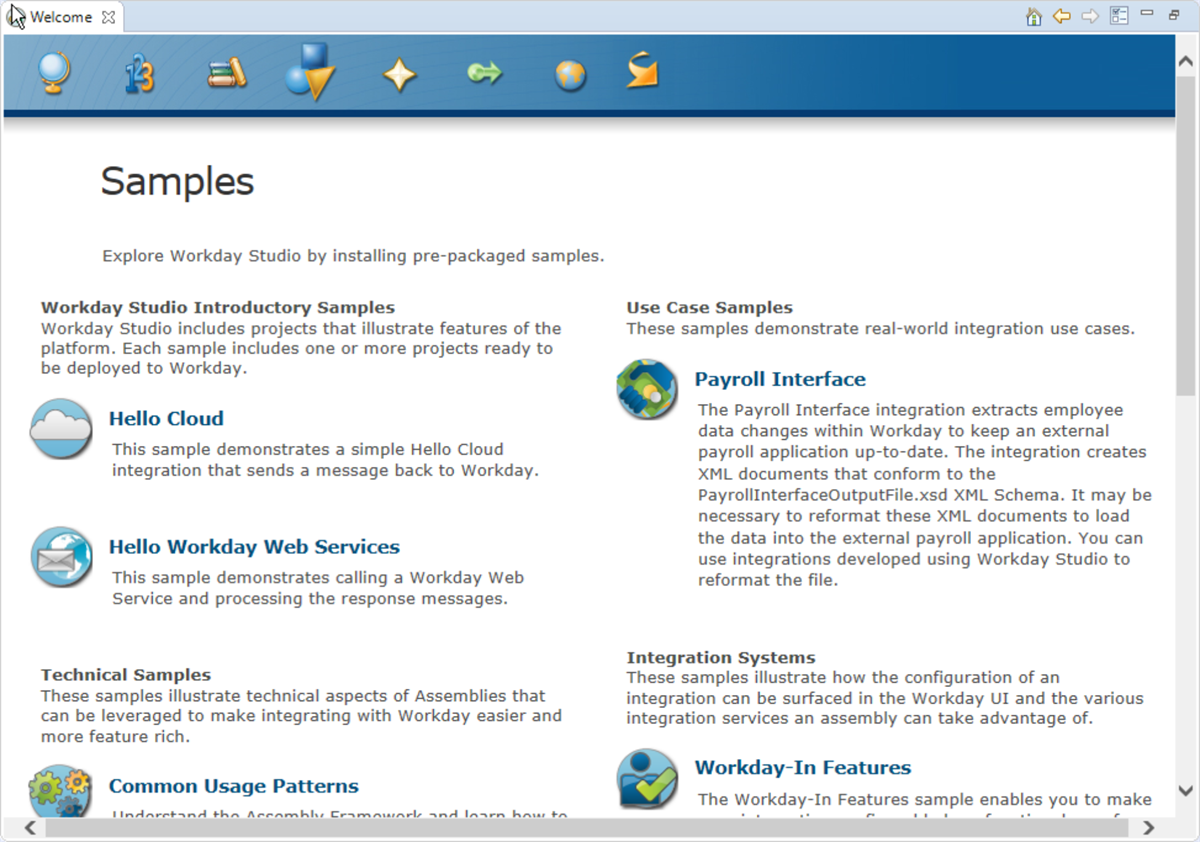
Workday Studio has many samples and tutorials available to help guide you through learning the different components. Once you launch Workday Studio, you can find samples under the Help > Welcome menu.
Workday Studio samples
Resource
: Access the Workday Studio Tutorials page on Workday Community for additional samples for download.